
 Following on the steps outlined in mhVTL on CentOS to install the mhVTL, this guide adds the web based mhVTL-GUI into the mix.
Note for the example below I am using a CentOS 6.7 minimal installation as CentOS or RHEL 7.x iSCSI has changed significantly enough not to work with the GUI.
Original developement by Nia on the mhVTL-GUI has been suspended after years of hard work and great support. A fork of the GUI is now available at https://github.com/markh794/mhvtl-gui however is not being actively developed against.
Installing dependencies
mhVTL-GUI needs some packages, so let’s install them:
yum install php lsscsi mtx mt-st git sysstat sg3_utils scsi-target-utils
Start tgtd (iSCSI) and register to start on boot:
/etc/init.d/tgtd start
chkconfig tgtd on
Configuring permissions
Configure sudo: Allow your web server user id to run commands locally as root by adding the below in /etc/sudoers:
apache ALL=(ALL) NOPASSWD: ALL
Comment out the line “Defaults requiretty” in /etc/sudoers:
# Defaults requiretty
Disable selinux: set in /etc/selinux/config:
SELINUX=disabled
Recommend a reboot at this stage to commit all changes.
Installing the mhVTL-GUI
Create a directory for mhvtl-gui files:
mkdir -p /var/www/html/mhvtl
Download mhvtl-gui:
cd /var/www/html/mhvtl
git init
git pull https://github.com/markh794/mhvtl-gui.git
Starting the GUI
Confirm both the mhVTL and iSCSI (tgtd) are started:
service mhvtl start
service tgtd start
Reload apache configuration:
service httpd reload
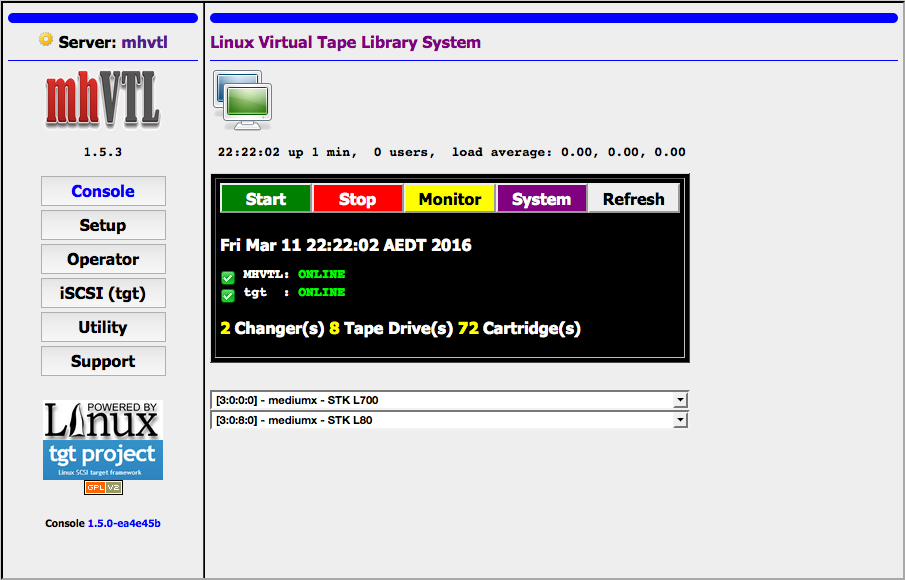
Now you can access mhVTL-GUI via a web browser (eg http://hostname/mhvtl/). The default password is mhvtl.
You can configure VTL from a set of preset from Setup-> Add -> Standard.
You can configure iSCSI target from iSCSI(tgt). Use Quick Start for default setup.
After changing iSCSI configuration from the web GUI, check that tgtd service is running and restart it otherwise.
With your easy to follow steps the setup worked on the first try.
great